



Many home theater enthusiasts spend countless hours researching televisions, projectors, speakers, AV receivers, and source components before making a purchase. Yet once everything is finally connected, many systems are left running with factory settings that barely scratch the surface of what the equipment is capable of delivering.
The reality is that buying premium equipment is a significant part of the journey, but it's certainly not the only part that matters.
Home theater calibration is the process of optimizing every component in your home theater ecosystem, and it can dramatically improve image quality, audio performance, and the overall viewing experience without requiring you to purchase a single additional piece of equipment.
Whether you’ve built a dedicated theater room or simply want the best movie nights possible in your living room, proper calibration helps every component perform the way its designers intended.
In this blog, we'll explore the key areas that can transform a good home theater into an exceptional one.

Why Home Theater Calibration Is More Important Than You Think
Imagine purchasing a high-performance sports car but never adjusting the tire pressure, wheel alignment, or engine settings. The vehicle would still be impressive, but it would never reach its full potential.
The same principle applies to home theater.
Modern televisions often arrive in bright “Store” or “Vivid” modes designed to stand out under harsh showroom lighting. Speakers may be positioned wherever space allows rather than where they’ll sound their best. Streaming devices, receivers, and disc players are frequently left on default settings. Every small compromise adds up.
The result is often:
- Colors that look unnatural
- Black levels that hide shadow detail
- Blown-out highlights
- Muddy dialogue
- Weak surround effects
- Inconsistent bass
- Reduced dynamic range
Proper calibration restores balance across your entire system, allowing films, concerts, and television programs to be experienced much closer to the creator’s original intent.
Step One: Start with Your Display
Your display is where every movie begins. Whether you’re using a premium OLED television, Mini-LED display, or front projector, picture settings have an enormous influence on image quality.
Many enthusiasts are surprised to learn that simply switching from “Vivid” mode to “Cinema,” “Filmmaker Mode,” or another accurate picture preset can produce a far more natural image.
Once you’ve selected an accurate picture mode, you can fine-tune settings such as:
- Brightness
- Contrast
- Sharpness
- Color temperature
- Motion processing
- HDR preferences
One of the most common mistakes is leaving excessive motion interpolation enabled. While it may appear smoother, it often creates the infamous “soap opera effect,” making cinematic films resemble daytime television.
Likewise, excessive sharpness can introduce artificial halos around objects, while oversaturated colors may look eye-catching initially but stray significantly from the filmmaker’s vision. But making small adjustments can dramatically improve realism.
Room Lighting Plays a Bigger Role Than You Realize
Even the world’s best television cannot overcome poor viewing conditions. Ambient lighting influences perceived contrast, black levels, and color accuracy.
Consider:
- Reducing direct light on the screen
- Using blackout curtains for daytime viewing
- Installing dimmable lighting
- Adding subtle bias lighting behind the display
Bias lighting is especially beneficial because it reduces eye fatigue while improving the perceived depth of blacks without washing out the image. Creating the right viewing environment often costs very little but delivers a noticeable improvement every time you sit down to watch a film.
Speaker Placement Is Half the Battle
Many people focus on purchasing better speakers when the real issue is where those speakers are positioned. Proper speaker placement creates a convincing soundstage that allows effects, music, and dialogue to blend naturally throughout the room.
Front speakers should ideally form an equilateral triangle with the primary listening position.
The center channel should be positioned as close to ear level as possible to ensure dialogue remains anchored to the screen.
Surround speakers should envelop listeners rather than point directly at them, while height speakers for Dolby Atmos should follow the placement recommendations provided by your AV receiver and speaker manufacturer.
Even moving speakers a few inches can noticeably improve imaging and clarity.
Don’t Ignore Room Acoustics
Your room itself is one of the largest components in your home theater. Hardwood floors, bare walls, large windows, and empty spaces all reflect sound. Those reflections can reduce clarity, exaggerate bass, and make dialogue harder to understand.
Simple improvements include:
- Area rugs
- Curtains
- Fabric furniture
- Bookshelves
- Acoustic panels
- Bass traps
You don’t need to turn your theater into a recording studio. Even modest acoustic treatment can make expensive speakers sound significantly better.
Let Your AV Receiver Do Some of the Work
Today’s receivers include sophisticated room correction systems that analyze your listening environment using a calibration microphone.
Popular technologies include:
- Dirac Live
- Audyssey MultEQ
- Anthem Room Correction (ARC)
- Yamaha YPAO
- Pioneer MCACC
These systems measure speaker distances, volume levels, crossover frequencies, and room reflections before automatically applying corrections. While no automated system is perfect, they provide an excellent foundation that can later be fine-tuned manually if desired.
Running room correction after moving speakers or rearranging furniture is always worthwhile.
Optimize Your Source Components
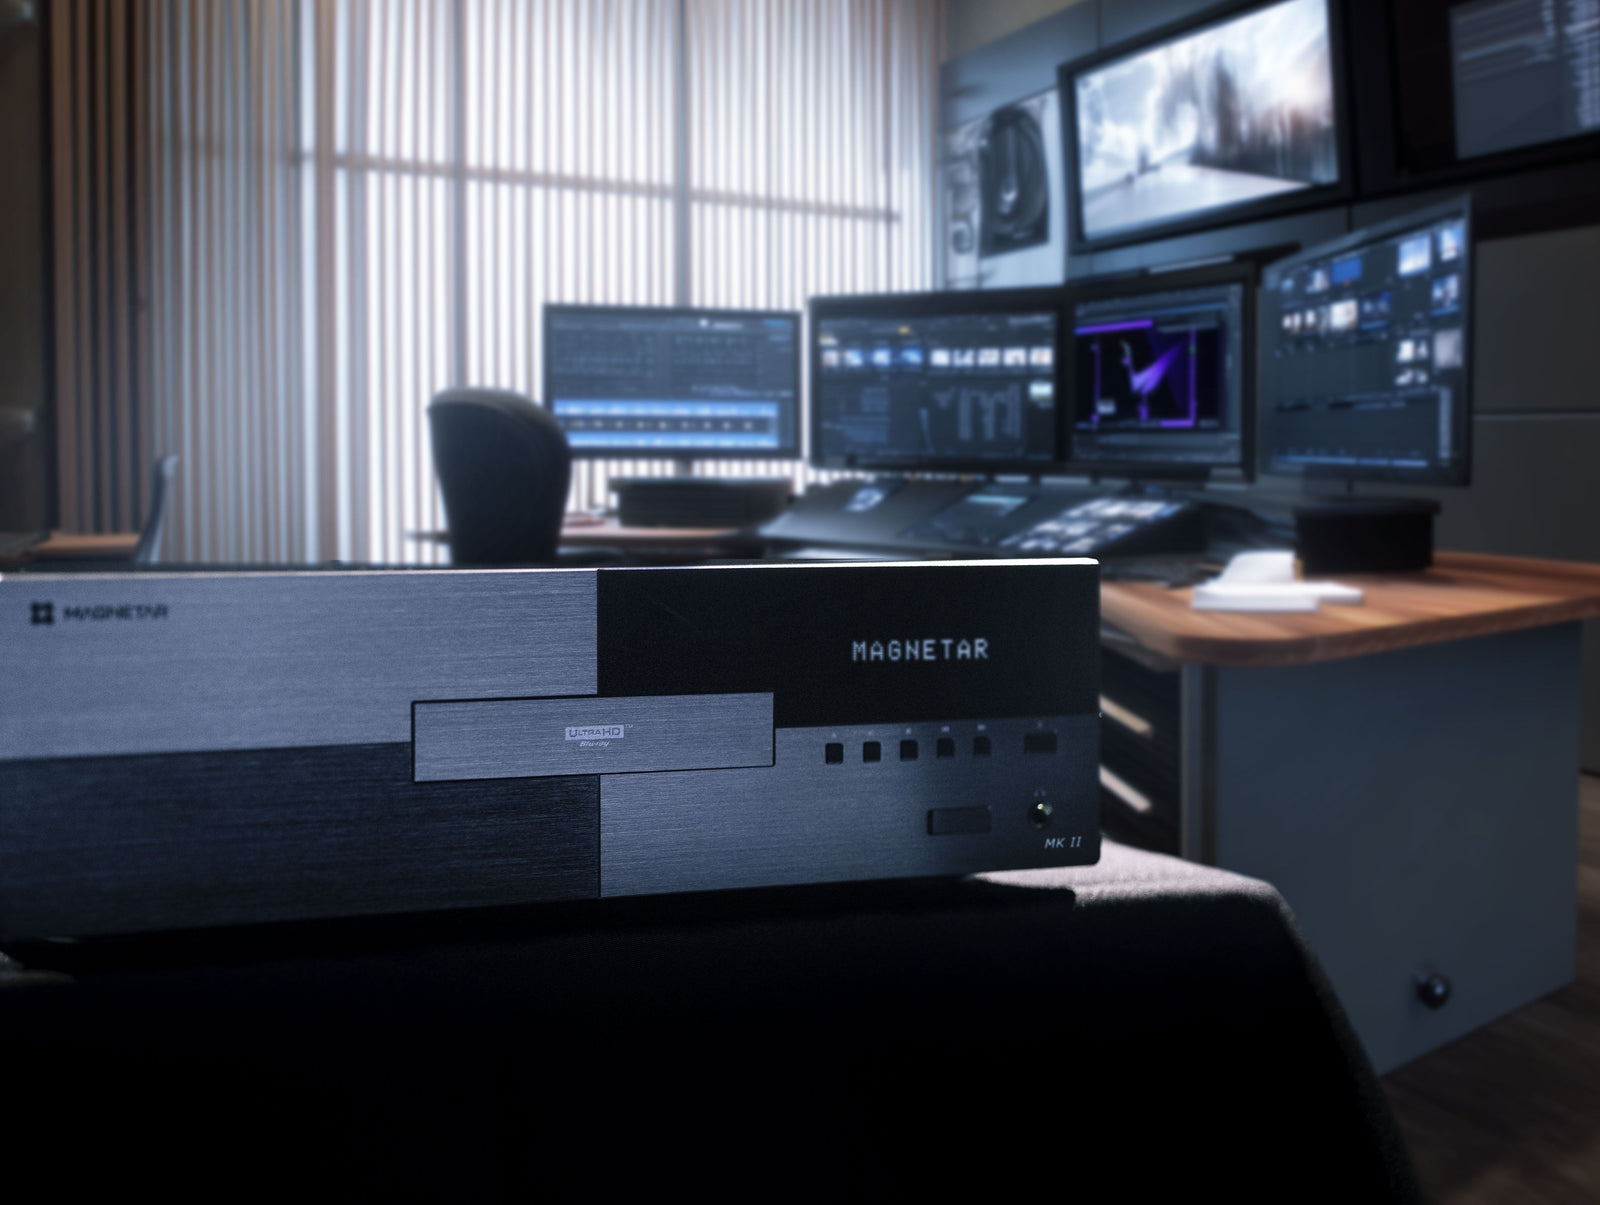
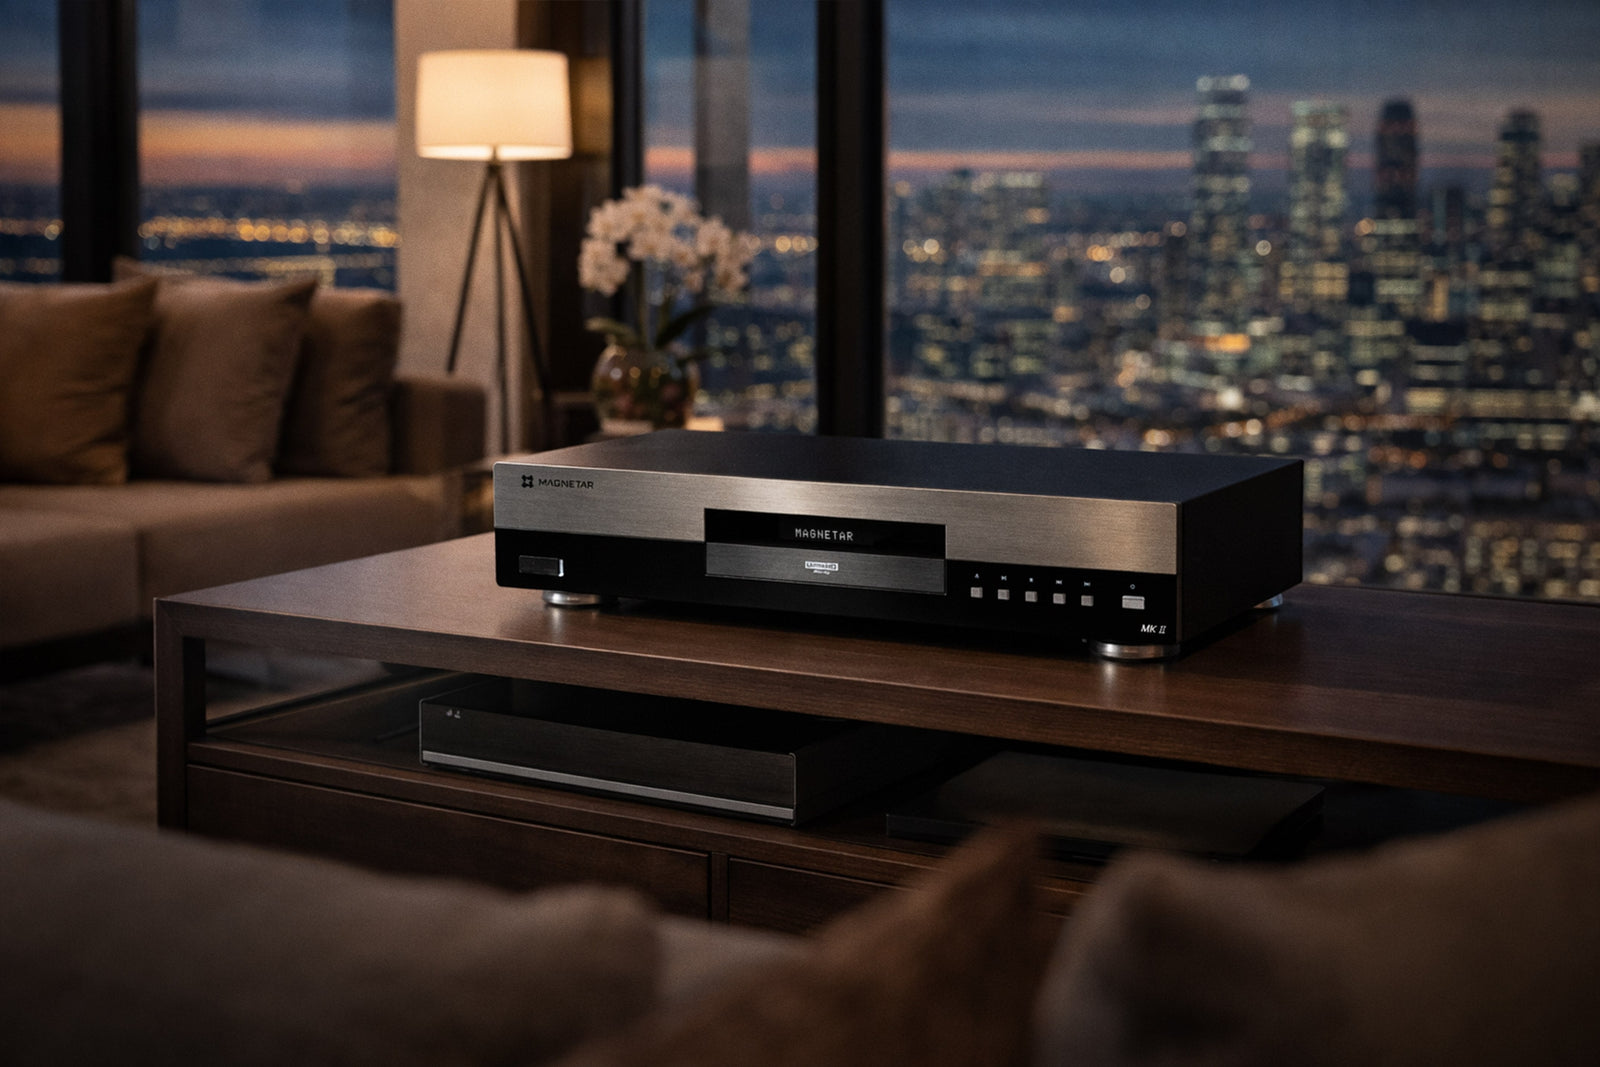
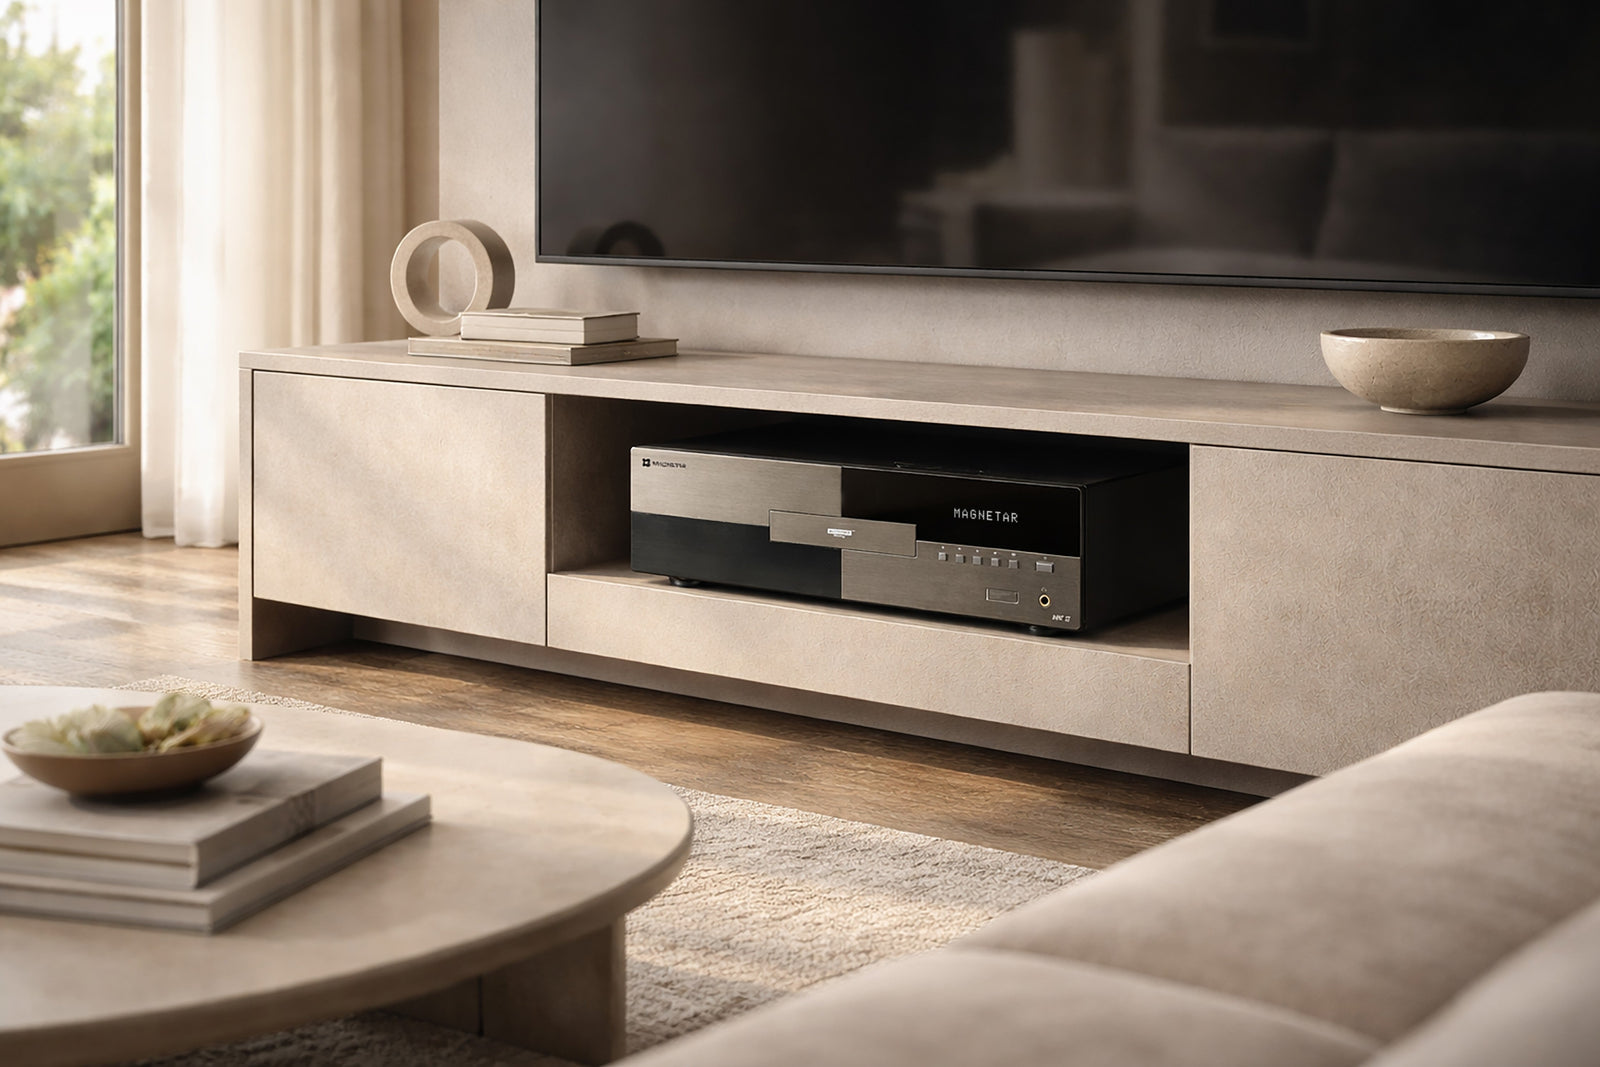
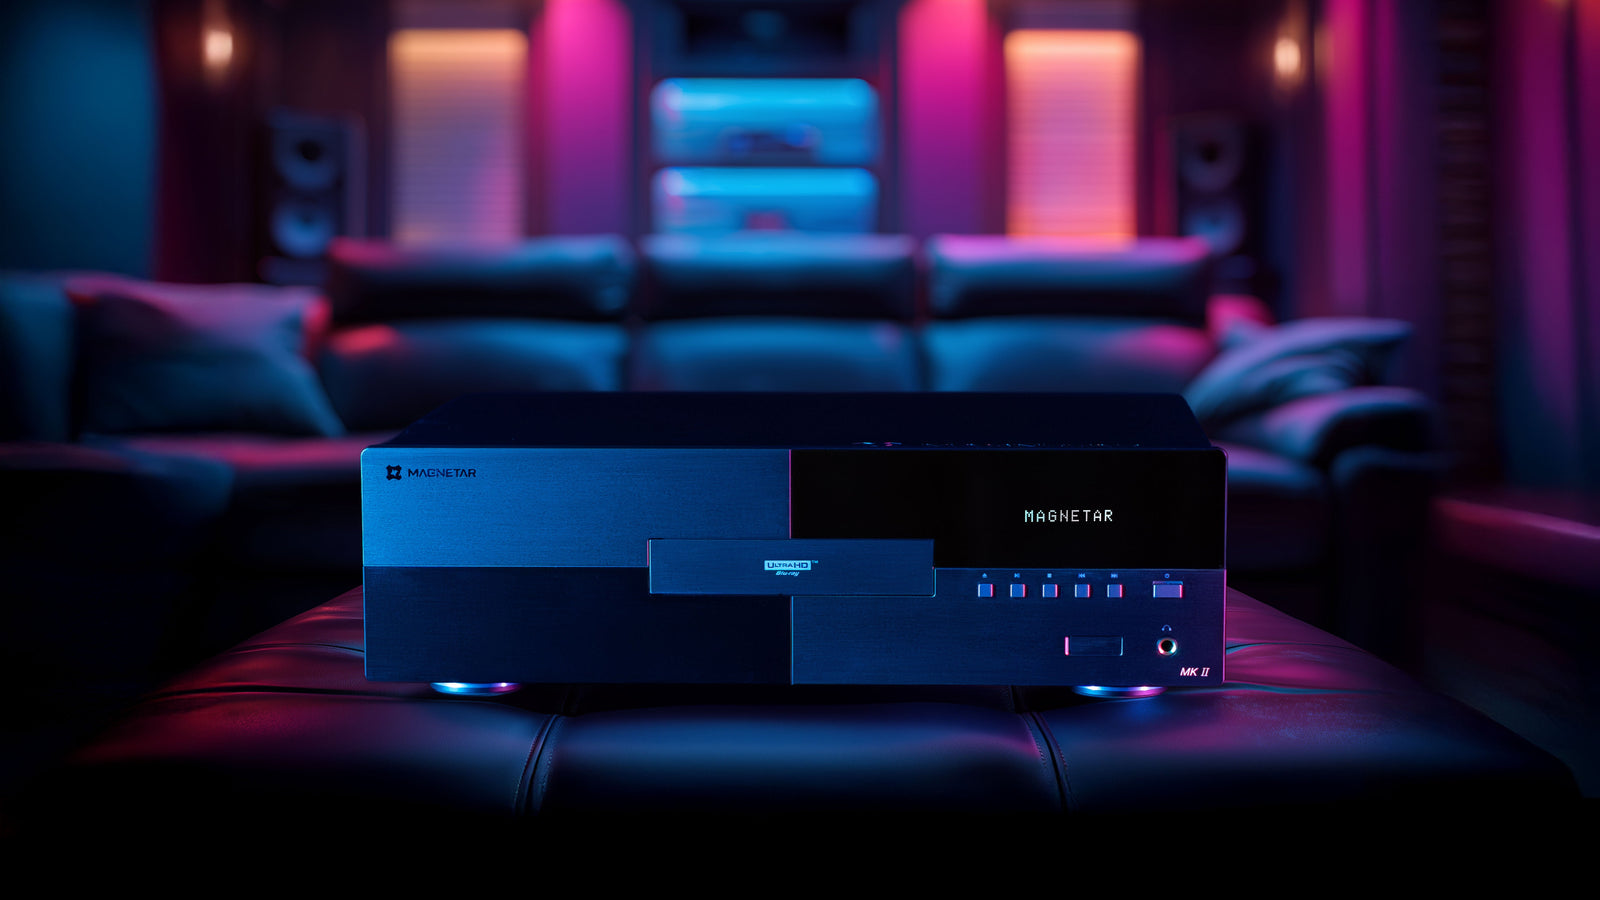
Your display and speakers aren’t the only devices that deserve attention. Source components, including your 4K Blu-ray player, play an equally important role in the final presentation.
Proper player settings can ensure:
- Accurate color output
- Correct HDR handling
- Proper frame rate delivery
- Bit-perfect audio transmission
- Optimal HDMI compatibility
Many enthusiasts never revisit these settings after initial installation, missing opportunities to maximize compatibility with their television or projector. Taking the time to verify your player’s output settings ensures the rest of your system receives the highest-quality signal possible.
Use High-Quality HDMI Cables
Not all HDMI issues stem from your equipment. Signal dropouts, flickering, handshake problems, or intermittent HDR failures are sometimes caused by aging or low-quality cables.
For modern 4K HDR systems, certified Ultra High Speed HDMI cables (like Magnetar certified cables by Austere) provide the bandwidth necessary to carry today’s demanding video and audio formats reliably.
Well-constructed certified cables can improve reliability, particularly over longer cable runs.
Don’t Forget Audio Calibration
Dialogue should sound clear, explosions should feel powerful, and quiet scenes should remain detailed. If you’re constantly adjusting the volume throughout a movie, your system likely needs further optimization.
After running your receiver’s calibration system, consider checking:
- Center channel level
- Subwoofer integration
- Speaker crossover settings
- Dynamic range controls
These small refinements often make movies more enjoyable without requiring constant remote control adjustments.
Revisit Your Settings Periodically
Home theaters aren’t static environments.
You may:
- Upgrade speakers
- Replace furniture
- Add rugs
- Mount a new television
- Move your seating position
- Install a projector
- Update firmware
Each change can subtly alter performance. Revisiting your calibration every six to twelve months helps ensure your system continues performing at its best.
The Source Material Is Important Too
A home theater calibrated to perfection can still only reproduce the information it receives.
Highly compressed streaming video often sacrifices detail, color information, dynamic range, and audio fidelity in order to accommodate varying internet speeds.
By comparison, high-quality physical media preserves significantly more visual and audio information, giving calibrated systems the opportunity to reveal finer textures, richer color gradations, cleaner motion, and immersive lossless surround sound.
Calibration and high-quality source material work hand in hand. One allows your equipment to perform optimally, while the other provides the information needed to showcase those improvements.
Bringing It All Together
Building a great home theater amounts to more than simply purchasing premium equipment. It's equally important to ensure every component works together as a cohesive system.
From accurate picture modes and thoughtful speaker placement to room acoustics and optimized player settings, each adjustment contributes to a more immersive and faithful entertainment experience. Often, significant improvements can be made by unlocking the potential that’s already sitting in your home.
For enthusiasts who invest in high-quality components, calibration is the final step that transforms impressive hardware into an extraordinary viewing and listening experience.
Here at Magnetar, we believe exceptional home theater performance begins with exceptional source quality. When paired with a carefully calibrated display and audio system, a premium universal disc player can deliver every detail, nuance, and cinematic moment exactly as it was intended to be experienced, bringing you closer to the filmmaker’s vision every time you press play.