


Introduction
Blu-ray players are often seen as “plug-and-play” devices—something you hook up, insert a disc, and enjoy. But hidden inside the menus of your player are dozens of settings that can completely transform your experience. Whether you’re watching a 4K Ultra HD Blu-ray blockbuster, spinning an imported boutique release, or enjoying a concert disc in surround sound, knowing how to configure your player ensures you’re getting the absolute best out of your gear.
The challenge? Many settings are labeled with technical terms—YCbCr 4:4:4, Deep Color, Bitstream, PCM—that can feel intimidating or confusing. This guide breaks them down in simple, practical language so you can confidently adjust your player, solve common problems, and unlock the true performance it’s capable of.

1. Video Output Settings: Getting the Picture Right
Resolution (1080p, 4K, Upscaling)
Your Blu-ray player determines what resolution to send to your TV or projector. Standard Blu-rays are 1080p, while 4K Ultra HD Blu-rays are, as the name suggests, native 4K. Many players also upscale regular Blu-rays to 4K for sharper detail on modern displays.
- Why it matters: Setting your player to match your TV’s highest supported resolution ensures the cleanest, sharpest image.
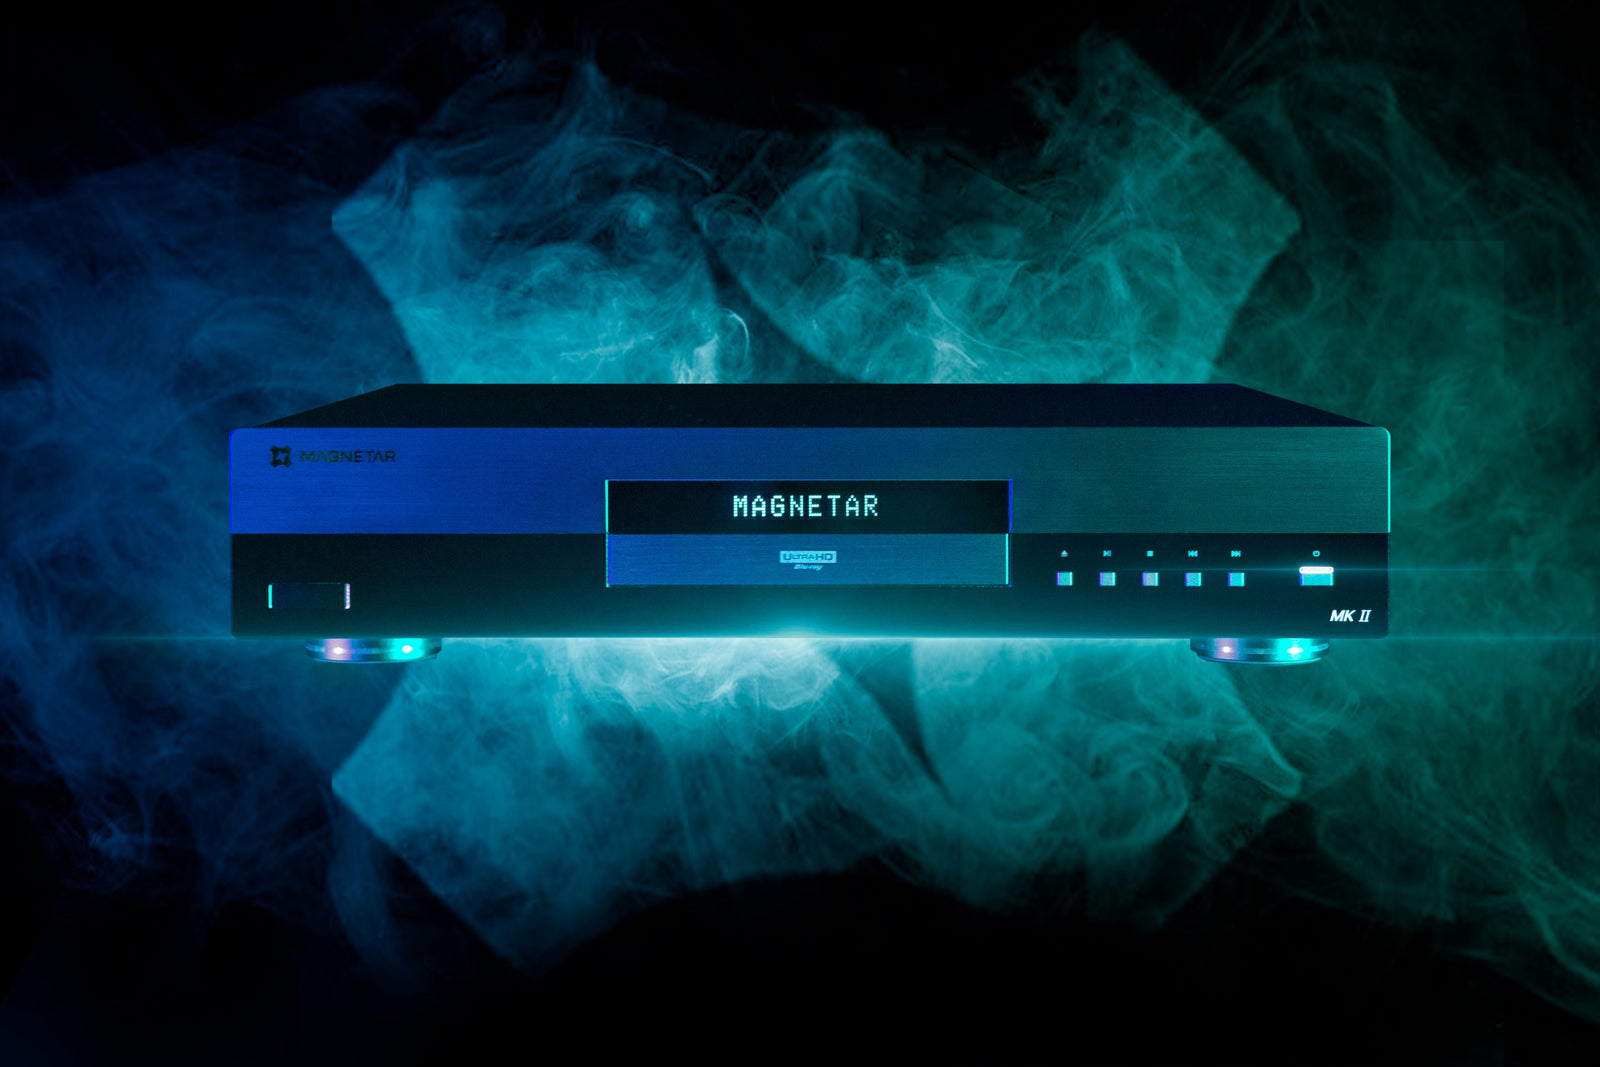
- Pro tip: High-end players like Magnetar are designed with advanced video processors that upscale better than most TVs. Let the player handle it for the best result.
HDR (High Dynamic Range: HDR10, Dolby Vision, HLG)
HDR expands brightness, color, and contrast, making images more lifelike.
- HDR10: The most common format, supported by all UHD Blu-rays.
- Dolby Vision: Dynamic metadata for scene-by-scene optimization (if both your disc and TV support it).
- HLG: Hybrid Log Gamma, mainly used in broadcasts.
- Why it matters: The right HDR setting ensures your TV shows deeper blacks, brighter highlights, and richer colors.
- Pro tip: If you own a Dolby Vision–capable display, enabling it on your player is a must for cinematic quality.
Color Space & Depth (YCbCr 4:4:4, RGB, 8-bit/10-bit/12-bit)
This setting controls how color information is sent to your TV.
- YCbCr 4:2:0: Standard for most Blu-rays.
- YCbCr 4:4:4: Higher chroma sampling, useful for high-end displays.
- RGB: Best for PC monitors or certain TVs.
Bit depth (8/10/12-bit) affects how smooth gradients look—higher values reduce “banding” in skies or dark shadows.
- Why it matters: The wrong color space can cause odd tints or reduced sharpness.
- Pro tip: Match your display’s manual. If unsure, YCbCr 4:4:4 with 10-bit is often ideal for modern TVs.
2. Audio Settings: Making the Most of Your Sound System
Bitstream vs PCM
- Bitstream: Sends raw audio data to your receiver for decoding. Perfect if your AV receiver supports Dolby Atmos or DTS:X.
- PCM: The player decodes audio and sends it uncompressed. Useful if your receiver doesn’t support advanced formats.
- Pro tip: Use Bitstream if you’ve invested in a modern home theater receiver—it lets you hear every detail the disc offers.
Dynamic Range Control (DRC)
DRC compresses the difference between loud and soft sounds.
- When to use it: Late-night viewing or apartment living.
- When to disable it: Movie night on a surround system—enjoy the full range as intended.
Secondary Audio
This mixes commentary or bonus tracks into the main soundtrack, but at a cost—it often disables lossless audio formats like Dolby TrueHD.
- Recommendation: Leave it off unless you specifically want commentary.
3. Disc Playback Settings: Personalizing Your Experience
Region Codes
Discs are often locked to regions (A, B, or C for Blu-ray). Collectors importing boutique releases benefit from universal players that bypass these restrictions.
- Pro tip: If you’re into Arrow Video, Eureka, or other international boutique labels, a region-free player is essential.
Subtitle & Language Preferences
Save time by setting your preferred audio and subtitle language in the menu. The player will automatically default to them whenever available.
Resume Playback vs Start Fresh
Some players let you resume where you left off even after ejecting the disc. Ideal for TV box sets or long films.
4. Network & Firmware Settings: Staying Updated
Network Connection (Ethernet vs Wi-Fi)
While Wi-Fi works for casual use, a wired Ethernet connection is more stable for downloading firmware updates or streaming bonus content.
Firmware Updates
Manufacturers regularly release firmware updates to add support for new disc features or fix playback bugs.
- Pro tip: If a disc won’t play, check for an update before assuming the disc is faulty.
5. Advanced Features: For the Enthusiast
Source Direct Mode
In this mode, the player sends the disc’s native resolution (e.g., 480p, 1080p, 2160p) without scaling. Videophiles often prefer this when using high-end projectors or external processors that do better scaling.
Noise Reduction & Sharpness Controls
These options tweak the image, but many TVs and projectors already handle them better.
- Pro tip: Leave them off to avoid over-processed images.
HDMI Deep Color
Allows for greater bit depth (10 or 12-bit color) when paired with HDR content.
- Note: Only enable if your display supports it, otherwise you may see flickering or “no signal” errors.
6. Common Problems Solved by Settings Adjustments
- Washed-Out Colors: Check HDR settings or switch color space to YCbCr 4:4:4.
- No Atmos/DTS:X Playback: Change audio output to Bitstream.
- Audio Delay/Lip Sync Issues: Use the player’s audio delay setting.
- “Unsupported Format” Error: Lower resolution or disable Deep Color.
- Too Quiet Dialogue, Loud Explosions: Turn on Dynamic Range Control.
7. Optimizing Your Setup: A Quick Guide
- Calibrate your TV/projector: Player settings shine when paired with accurate display calibration.
- Match settings to your gear: A high-end OLED thrives on Dolby Vision + Bitstream, while a simpler setup may benefit from PCM and HDR10.
- Experiment: Trust your eyes and ears—don’t be afraid to test different settings and settle on what looks and sounds best to you.
Conclusion
Your Blu-ray player is more than a disc spinner—it’s the hub that controls how video and audio are delivered to your home theater. By learning what each setting means, you can tailor the experience to your setup, whether you’re running a high-end Atmos system or a simple TV-and-soundbar combo.
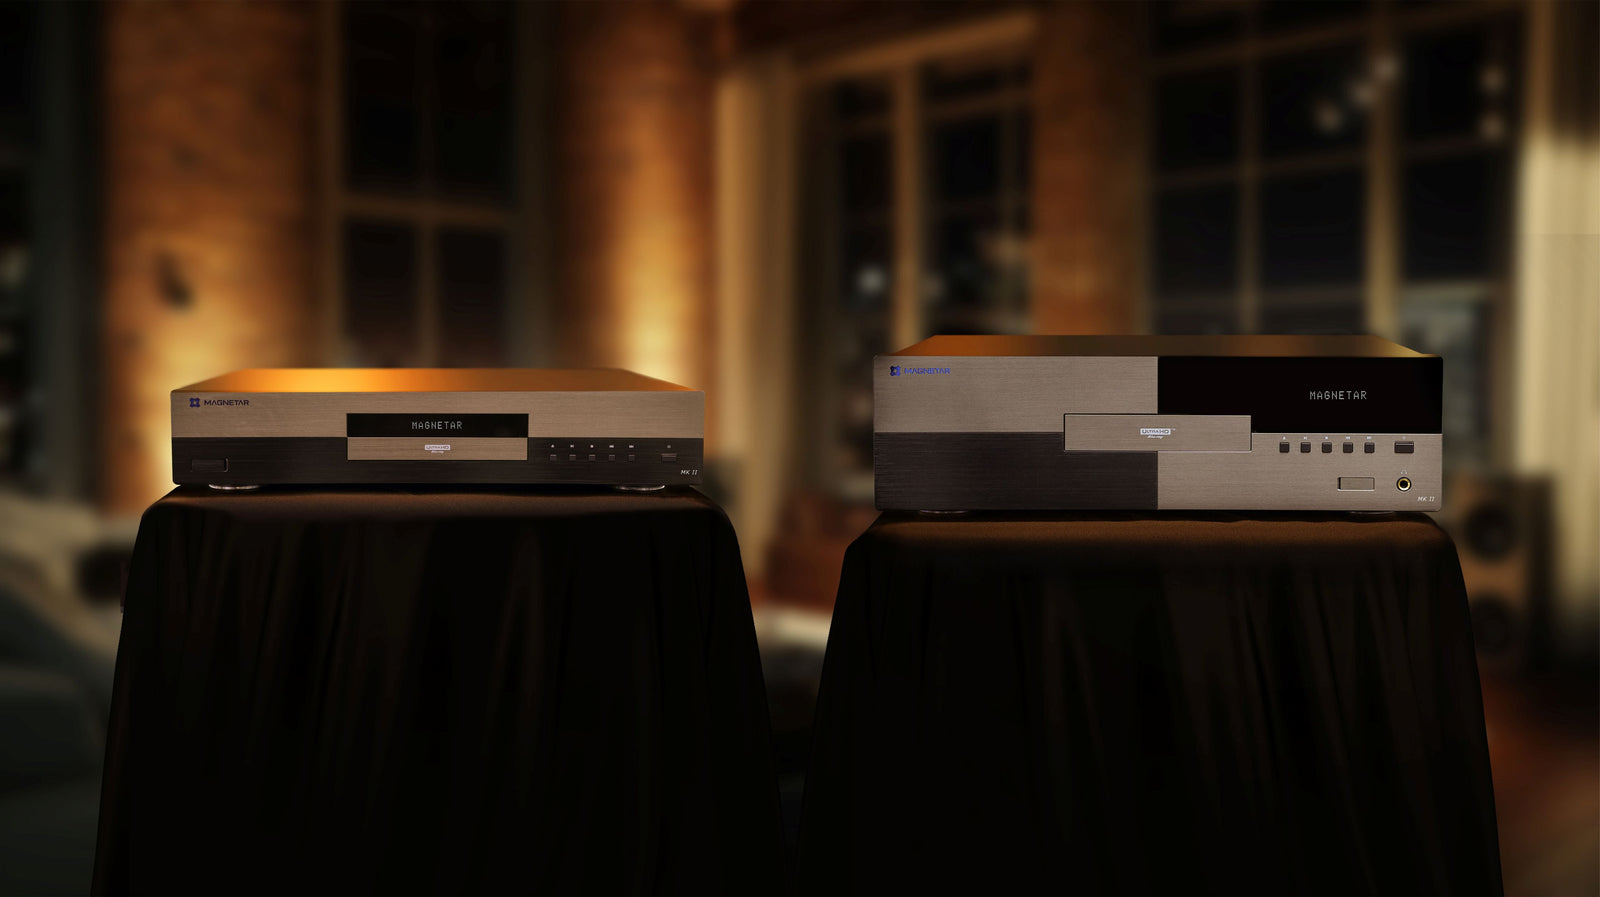
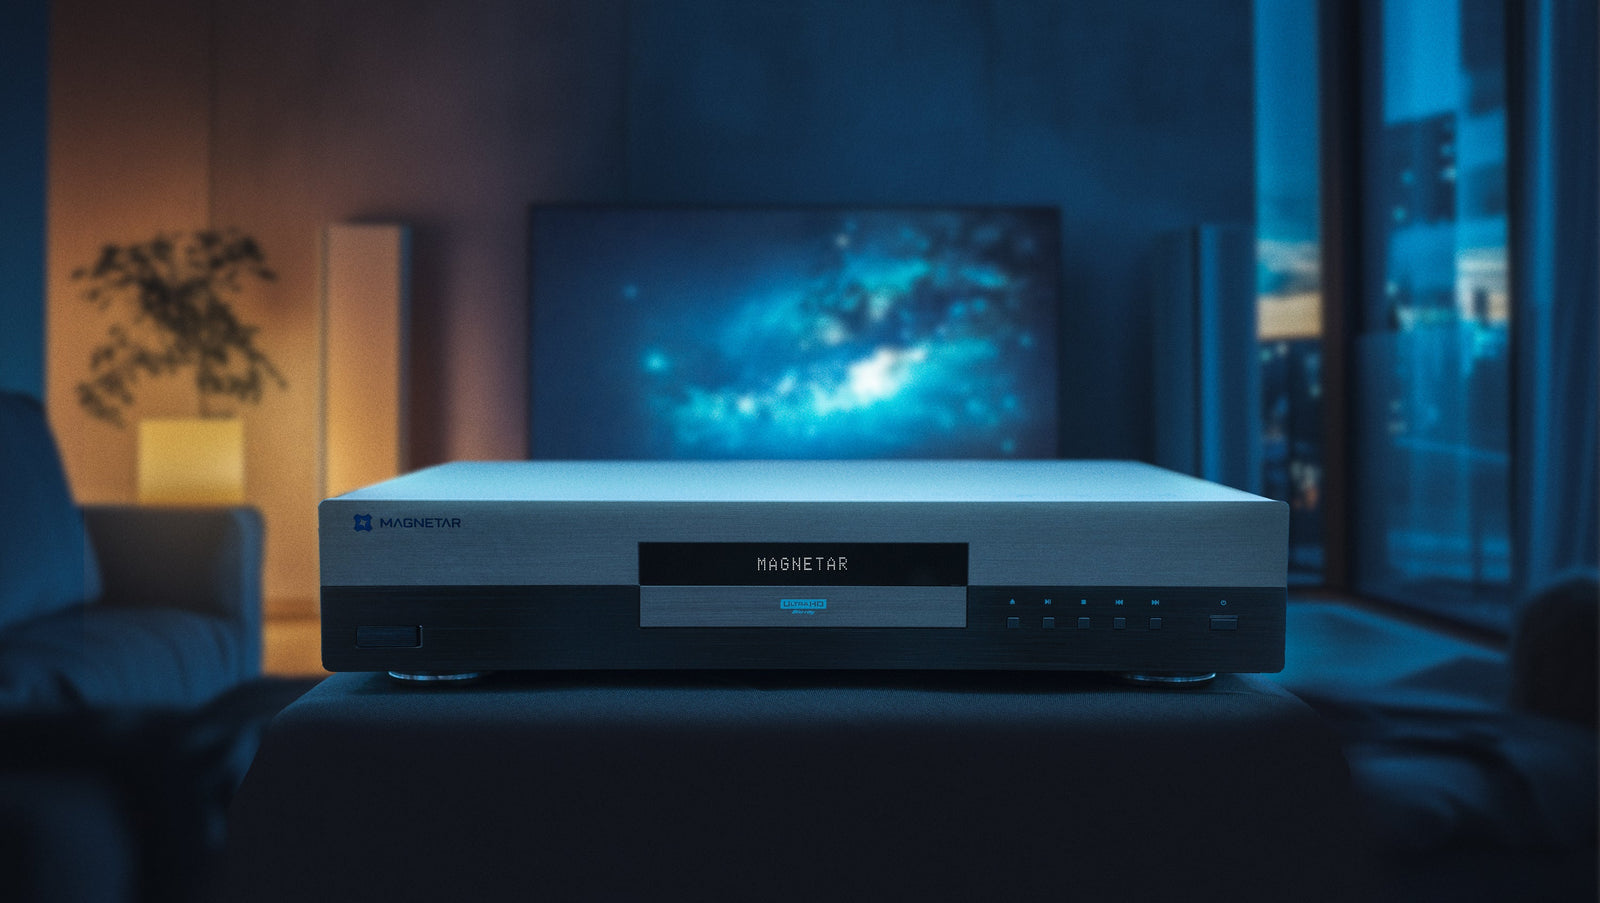
The best part? Once you’ve explored the menus and fine-tuned your settings, you’ll see and hear your movies in a whole new way—exactly as the filmmakers intended. Premium players, like those from Magnetar, are designed with enthusiasts in mind, offering precise controls, universal playback, and world-class performance.
So next time you settle in for a movie night, take a few minutes to dive into your player’s settings. You might be surprised at just how much better your discs can look and sound when everything is dialed in.